


Are you looking for a quick guide on how to use a receipt book? If yes, you’ve come to the right place!
Shoeboxed, the #1 receipt scanner app, is here to help you find out exactly what a receipt book is and how to fill out a receipt correctly.
Let’s go!
What is a receipt book?
As the name suggests, a receipt book consists of multiple detachable forms that serve as proof of payment. These booklets are usually pre-numbered chronologically and have the receipt headings in place. You can easily print out a receipt book template online or buy one at any office supply store.
A receipt book is a critical document because it helps you keep track of your financial transactions and serves as solid evidence for tax purposes.
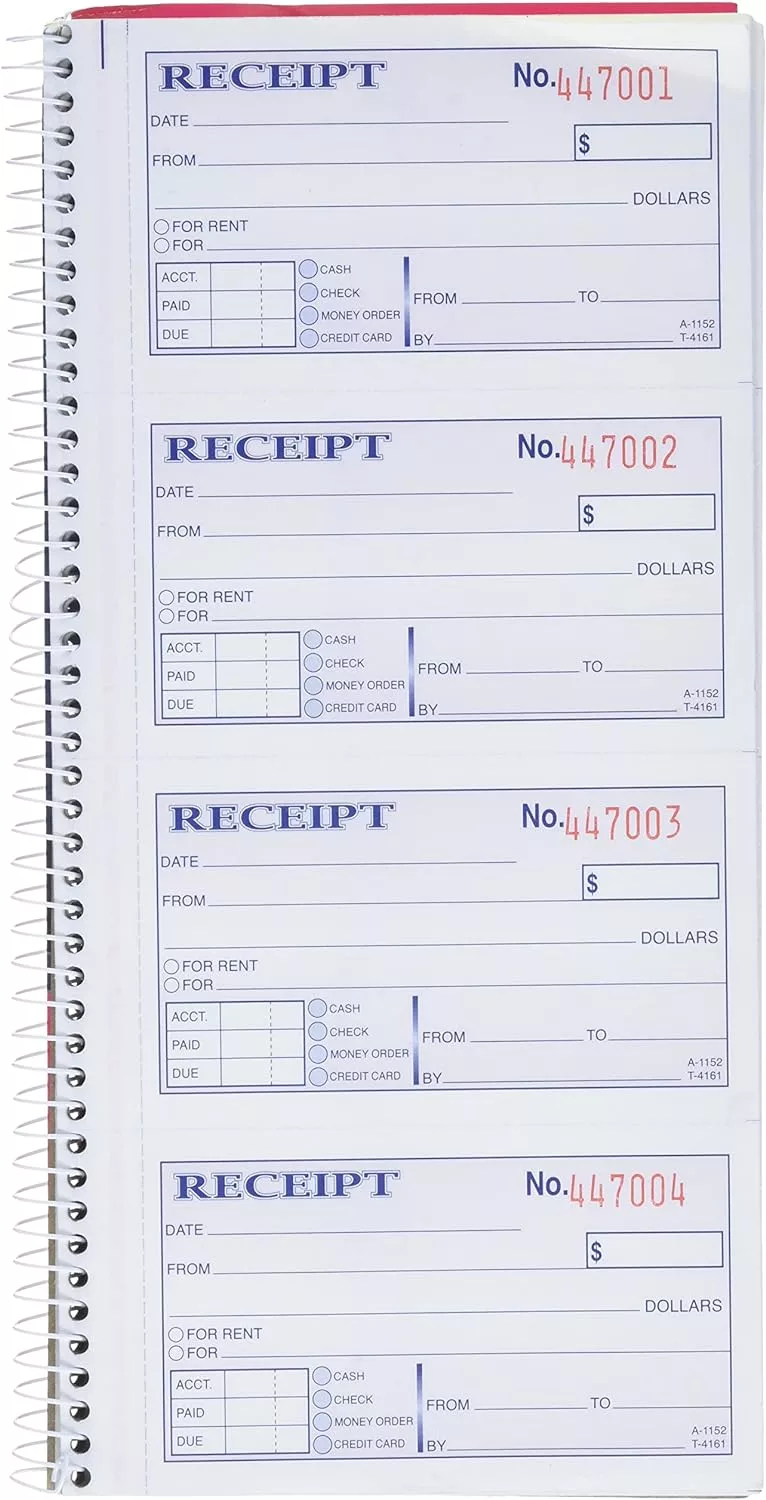
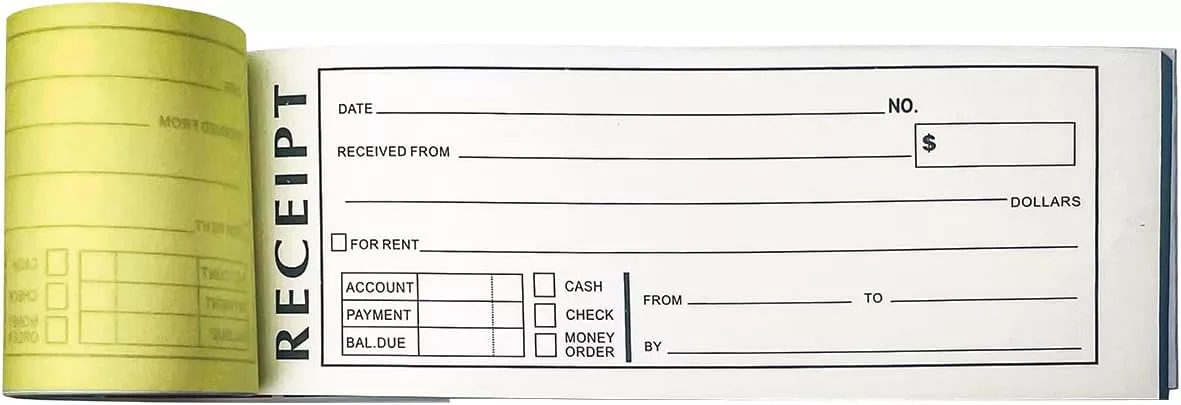
The number of individual receipts in a book can vary from 50 to 200 sets. Commonly, one set of receipts contains two different colored receipts: white and yellow.
In a receipt book, who gets what copy?
The white receipt is called the original receipt, which is usually on top and is given to customers. Meanwhile, the yellow receipt is a duplicate or carbon copy of the white receipt that the business keeps for documentation.
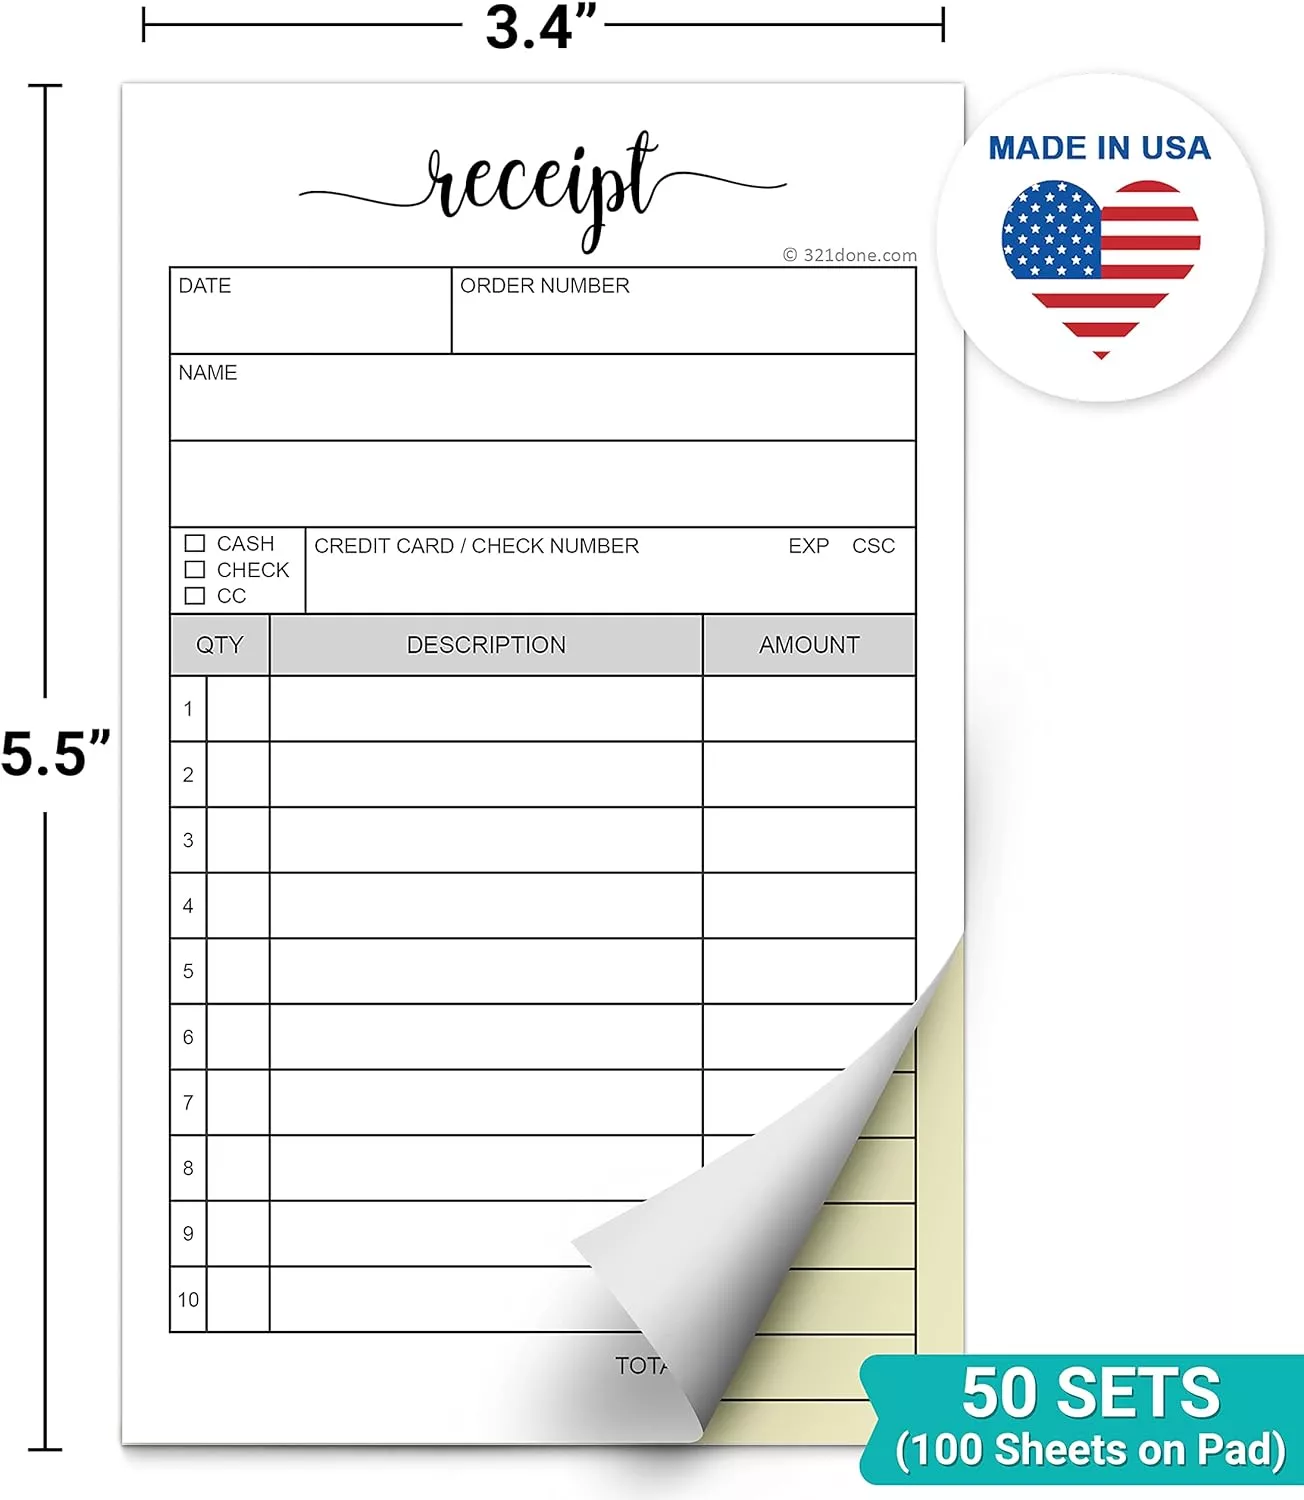
Source: Amazon
You can also find sets containing up to 4 different colored receipts. This type of receipt book is handy if your business has many departments involved in the sales process. For example, your business may want to give the white copy to the client, the yellow one to the sales department, the pink one to the finance department, and the blue one remains in the receipt book.
Never lose a receipt again 📁
Join over 1 million businesses scanning receipts, creating expense reports, and reclaiming multiple hours every week—with Shoeboxed.✨
Get Started TodayHow to use a receipt book: Essential items to fill out in a receipt
While it depends on the template you use for your receipts, there are some essential parts that you see on almost every receipt. Below is a detailed guide on how to fill in those crucial parts:
Step 1. Fill in the date
Write the exact date at the top page of your receipt when the transaction occurs. It can be the date when you receive payments or when your client receives your products or services.
Step 2. Fill in the company name and contact information
Most businesses have customized receipt books that have all this information pre-printed at the top left-hand corner of the receipt page. If you don’t have a customized receipt book, you will have to write down your company phone number/hotline and address under the company name.
Step 3. Include other related details
Feel free to include other details like your website address, social media accounts, or operating hours. On a side note, if you don’t have a company name, it’s recommended to write your own full name instead.
For example:
Russell Campbell
1234 Everett Way
Arvada, CO 80005
United States
+123456789
runningforlife.com
Step 4. Include product details
Write the name of your product on the left-hand side of the receipt. Make sure you also enter a specific description of the product like the size, quantity, color, etc.
If you sell more than one item, list each product individually on one single row or line and leave a good space between each product. This allows you to change or add more information when needed.
Here’s a receipt book example filled out:
Product |
Size |
Color |
Quantity |
Running T-shirts |
L |
Yellow |
2 |
Knitted scarf |
– |
Gray |
1 |
Motivational mug |
– |
– |
1 |
Receipt example showing how to write product details
Step 5. Include the price
For each item, write down its corresponding price at the end of the row or line. Always remember to multiply the single product’s price by its quantity first if you sell more than one unit of that product.
For example, a running T-shirt costs $25. This customer is buying two, so you would need to write the total value of two T-shirts, which is $25 x 2 = $50.
Product |
Size |
Color |
Quantity |
Price ($) |
Running T-shirts |
L |
Yellow |
2 |
50 |
Knitted scarf |
– |
Gray |
1 |
20 |
Motivational mug |
– |
– |
1 |
15 |
Receipt example showing how to write price details
Step 6. Add the subtotal amount
The subtotal is the summation of all the items before taxes and/or any additional fees. Add up the cost of each line and write the total number under the list of products in the price column.
For example:
Product |
Size |
Color |
Quantity |
Price ($) |
Running T-shirts |
L |
Yellow |
2 |
50 |
Knitted scarf |
– |
Gray |
1 |
20 |
Motivational mug |
– |
– |
1 |
15 |
Subtotal |
85 |
Receipt example showing how to write price details
Step 7. Add taxes, additional charges, and the grand total
Include any applicable taxes by multiplying the subtotal figure with the tax percentage. Also, add any other additional charges, such as delivery fees. List the name of your taxes and other fees on the left side under the subtotal and their cost on the price column.
Now, add all the numbers to get the grand total or the amount that your customer has to pay. Write the figure you get at the bottom of the receipt. You will always see a designated line to write your totals.
For example:
Product |
Size |
Color |
Quantity |
Price ($) |
Running T-shirts |
L |
Yellow |
2 |
50 |
Knitted scarf |
– |
Gray |
1 |
20 |
Motivational mug |
– |
– |
1 |
15 |
Subtotal |
85 |
|||
Tax (15%) |
12.75 |
|||
Delivery |
3 |
|||
Grand total |
100.75 |
How to write taxes, additional charges and the grand total on a receipt
So, there you go, that’s how to fill in a receipt!
Watch this tutorial video to learn how to fill in a receipt by hand! Receipt Book. Source: Tyler Evans.How to fill out a money/rent receipt
To fill out a rent receipt, landlords should record the following information on the receipt:
Payment date—the date you received payment
Paid by—the tenant who made the payment
Received by—the landlord (you)
Rent amount—the full amount paid (include all additional fees)
Payment method—list how the payment was made, e.g., credit card, check, etc.
Signature—the individual who received the payment should sign the receipt (often the landlord)
Give the original to the tenant (often the white receipt on top) and keep a copy for yourself (often the yellow copy underneath).

Rent receipt example
Turn receipts into data for tax time ✨
Try Shoeboxed’s systematic approach to receipt tracking for tax season. 30-day full money-back guarantee!
Get Started TodayFrequently asked questions about receipt books
How do I fill out a receipt book?
Step 1. Make two copies of each transaction.
One receipt copy is for your records, and the other copy is for your customer. You can leave your copy of the transaction in your receipt book until you do bookkeeping for your sales.
Step 2. Use the right pen to fill out your receipt.
Use a pen with dark ink and press down firmly so that your writing will be easy to read.
Step 3. Fill out all the important items in the receipt book.
Write the date of the transaction, your business name, the person to whom the item is being sold, the delivery method for the item, the date it will be delivered, and any other relevant accounting information related to the transaction. Sign the receipt and include your contact information in case they need to contact you in the future.
Step 4. Confirm the quantity and cost for each product item.
And don’t forget to write the tax due at the bottom of your receipt.
What does a receipt book look like?
Receipt books come in a variety of sizes. The size of the receipt book will often depend on how many receipts per page a receipt book has. Some receipt books have 1 receipt form per page, and the form size is roughly the same dimension as a checkbook. Other receipt books have 1 long receipt form per page, and the dimensions are closer to letter size.

10 Pack Rent Receipt Book with Carbon Copy Duplicate 2 Parts 50 Sets Size: 8″ X 2.75″
Note: Invoice books tend to be larger in shape. Below is a picture of an invoice book (aka a book of invoices).

Books invoice sample from Template.net

Carbonless invoice book, Amazon
What are the differences between an invoice vs. a receipt?
You send an invoice to request payment from your customer. This is usually sent after the product or service has been delivered but before the customer has paid for it. Customary practice is to issue an invoice after one’s work is complete.
You send a receipt to your customer to acknowledge you have been paid. The receipt shows you received payment for your product or work from your client or customer.
In short, an invoice is a payment request, and a receipt is a proof of being paid.
How can I make my own receipt books?
Interested in making your own custom-printed receipt book? Here are the steps you can take to create one for your business.
Step 1. Find a receipt template.
There are a variety of free downloadable receipt templates that you can use.
Step 2. Create duplicates of the receipt template.
Once you have a template that you like, create duplicates of the template in Word or Google Docs. On average, receipt books have between 3 to 5 receipts per page.
Step 3. Print out copies of your receipt template.
How many pages of receipts do you want in your receipt book? Print out that number on your home office printer. On average, receipt books sold in stores contain between 50 to 100 receipt pages. If you want to add a carbon paper receipt to your book, adjust your paper sequence so that every other page is a carbon copy, with the carbonless paper copy appearing first.
Step 4. Affix the receipt book pages together at the top.
Use adjustable glue to affix the top part of each receipt page on top of the other. Let the receipt book fully dry before you begin to use it.
Bonus: 4 physical receipt books for purchasing
Bonus: 5 free online receipts books for downloading and printing
Download these and create your own custom receipt book template:
Download business receipts: Adobe PDF, MS Word (.docx), OpenDocument
Download cash receipts: Adobe PDF, MS Word (.docx), OpenDocument
Download donation receipts: Adobe PDF, MS Word (.docx), OpenDocument
-
Download rent receipts: Adobe PDF, MS Word (.docx),
-
Download sales receipts: Adobe PDF, MS Word (.docx),
Final thoughts
Receipt books are an essential tool that helps business owners maintain healthy financial records. And knowing how to use a receipt book is a skill that your customers—and your accountant—will be thankful you mastered!
For more bookkeeping skills that can help small business owners like yourself, check out our mammoth list of bookkeeping resources!
Tomoko Matsuoka is managing editor for Shoeboxed, MailMate, and other online resource libraries. She covers small business tips, organization hacks, and productivity tools and software.
People also read:
About Shoeboxed!
Shoeboxed is a receipt scanning service with receipt management software that supports multiple methods for receipt capture: send, scan, upload, forward, and more!
You can stuff your receipts into one of our Magic Envelopes (prepaid postage within the US). Use our receipt tracker + receipt scanner app (iPhone, iPad and Android) to snap a picture while on the go. Auto-import receipts from Gmail. Or forward a receipt to your designated Shoeboxed email address.
Turn your receipts into data and deductibles with our expense reports that include IRS-accepted receipt images.
Join over 1 million businesses scanning & organizing receipts, creating expense reports and more—with Shoeboxed.
Try Shoeboxed today!
